3D Shirt Designer Tutorial - T Shirt design online
Basics to T Shirt online design
For the best user experience, we recommend you to use the newest versions of Google Chrome, Mozilla Firefox or Apple Safari.
To design a whole garment for printing, we allow you to design each panel of the garment one at a time, in doing this you may wonder what the end result will look like with all of the panels together, this is where we have implemented a function, the 3D Preview that shows you how your complete garment will look like even while you're still designing it.
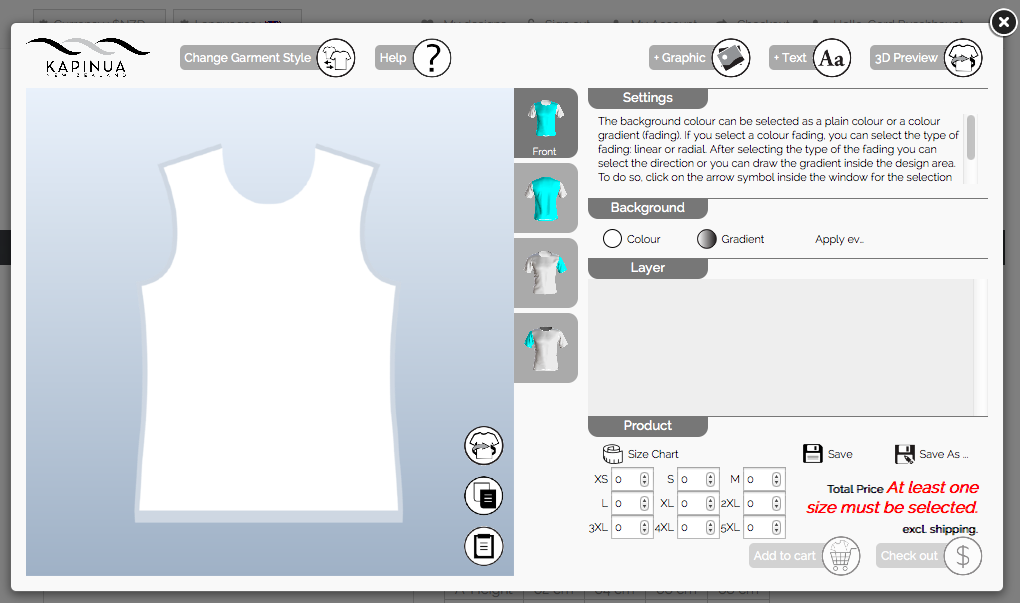
The design window in the online designer is divided into two main areas.
On the left is the drawing area, where you can select the garment panel that you would like to work on, then view that panel in the large area ready for you to start designing.
On the right- the tools area, you will find all of the tools you can use to create a design for your t shirt: text, colours, graphics/images, team names/numbers and the 3D preview.
The drawing area
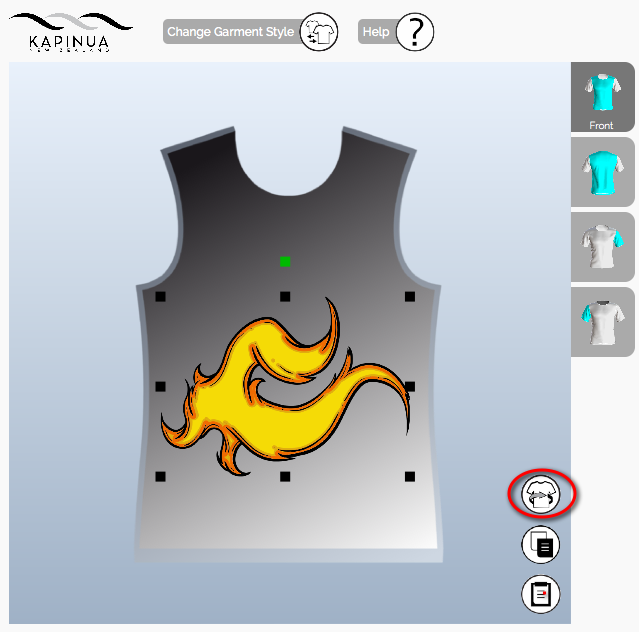
The drawing area on the left shows the pattern of the garment panel. The white area defines the printable area, the grey semi-transparent area around it defines the cutting line. A design should go inside the white area in order to be sure that it is printed.
On the right of the drawing area there are buttons highlighting the different panels of the garment, here you click on the panel and it will then activate this panel inside the drawing area where you can start to create your own design for this particular panel of the garment.
Right to the drawing area there are buttons, showing the different parts of a garment. A click on one will activate this garment part inside the drawing area and you can create your own design for this special garment part.
A t-shirt usually has four garment parts: front, back, right sleeve, left sleeve. Some other garments like a polo could have more, but you will see that at the count of the buttons right of the drawing area. In order to design a garment completely you have to put a design on every garment part.
Inside the drawing area at the bottom right side there are some buttons for the 3d preview, copy and paste.
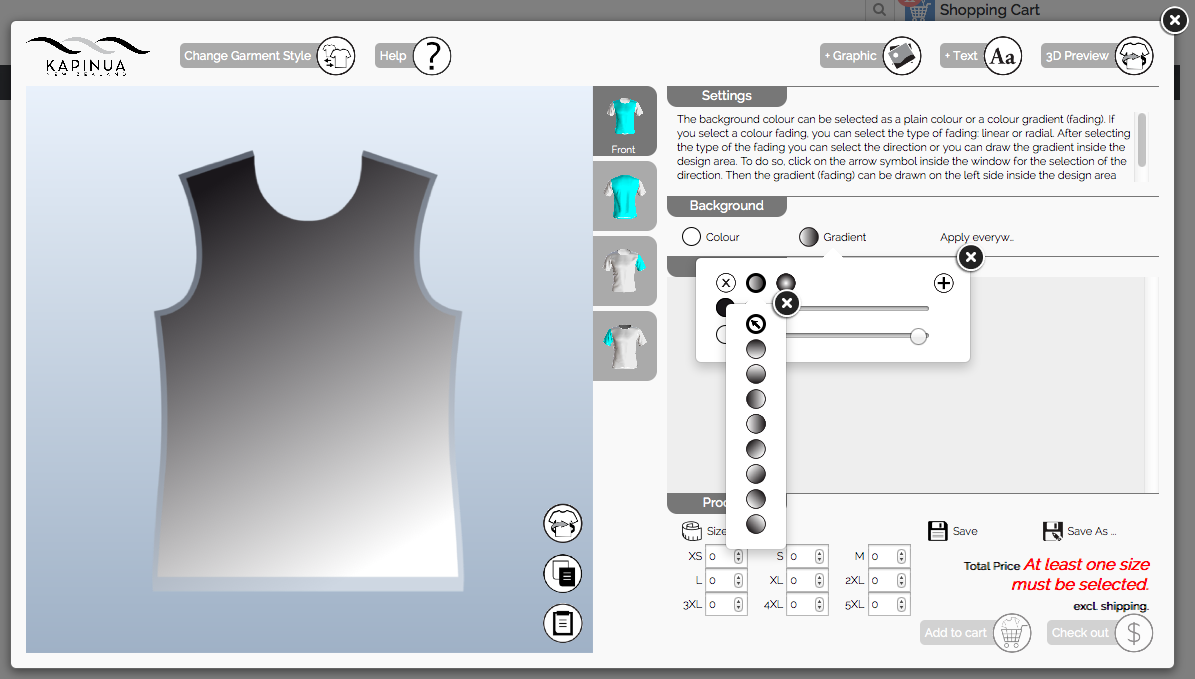
Define the Background Colour
The background colour can be selected as a plain colour
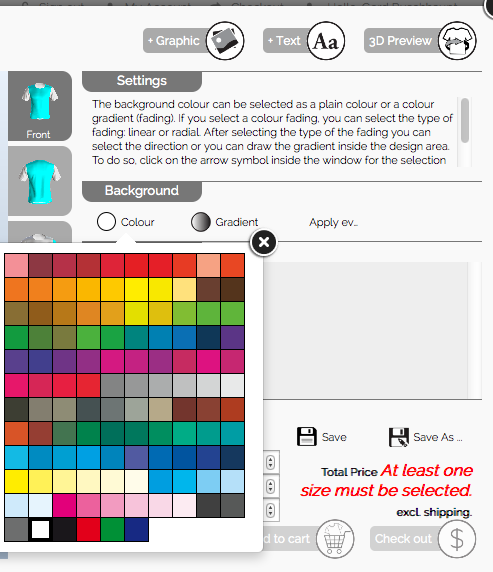
or a colour gradient (fading).
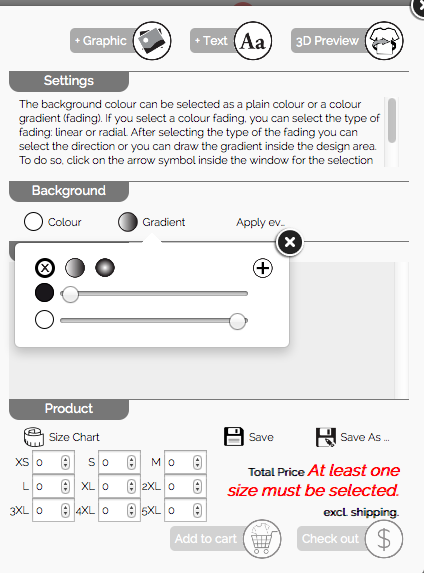
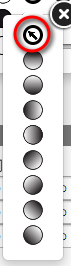
If you select a colour fading, you can select the type of fading: linear
or radial.
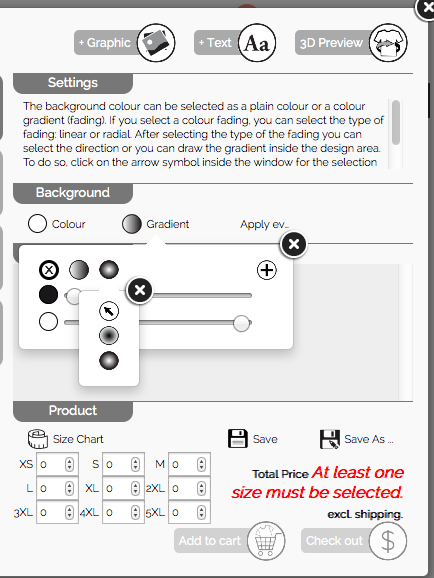
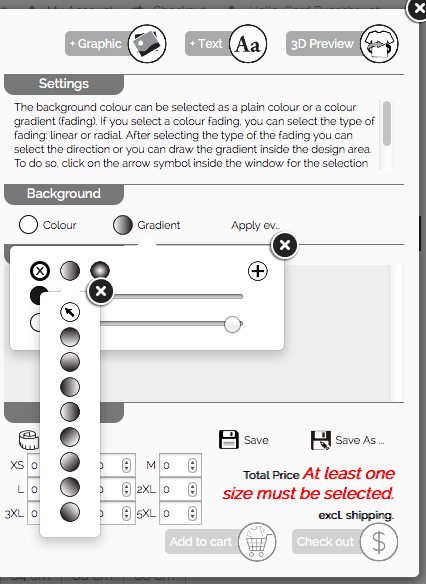
After selecting the type you can select the orientation of the gradient or you draw the gradient inside the drawing area. For this please click on the arrow symbol inside the orientation selection
and draw a gradient inside the drawing area on the left side.
Adding Text
After selecting the garment part you would like to work on, you can add text. It is always added initally with "+ Text". But you can always change the content to your content. Every change will be done instantly.
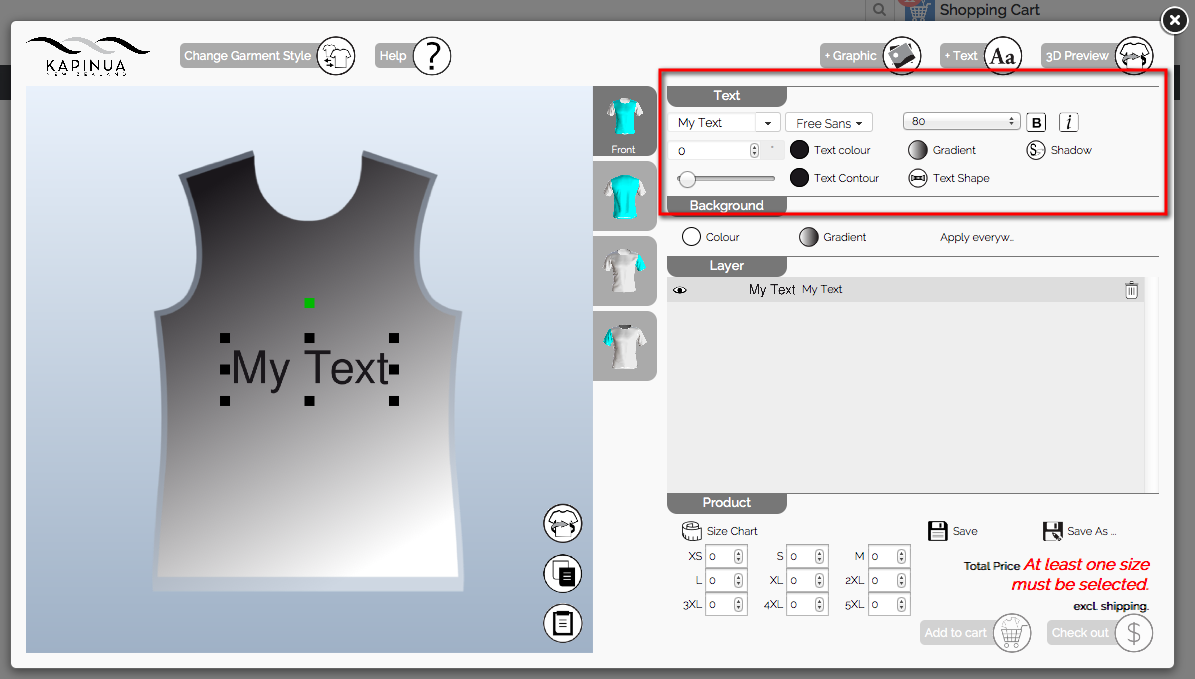
Different settings for text are possible to use like font, font size, font stroke, stroke width, shadow and different text shape types. You can even fill a text with a plain colour or a colour fading (gradient).
Adding Graphics
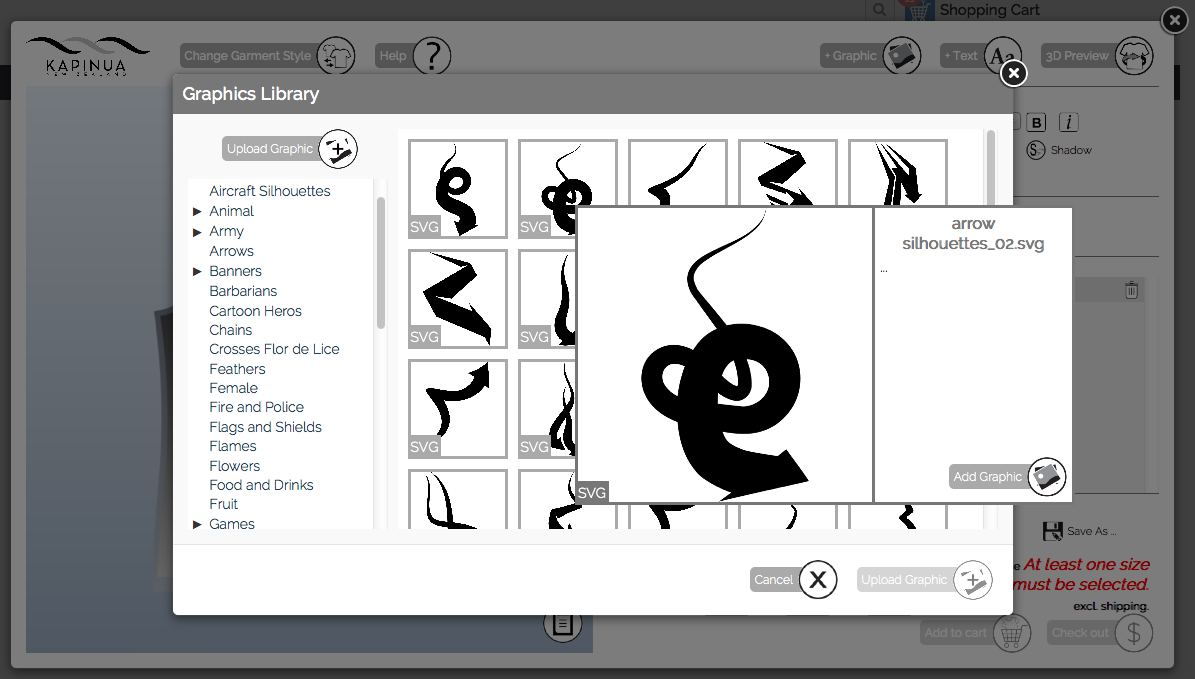
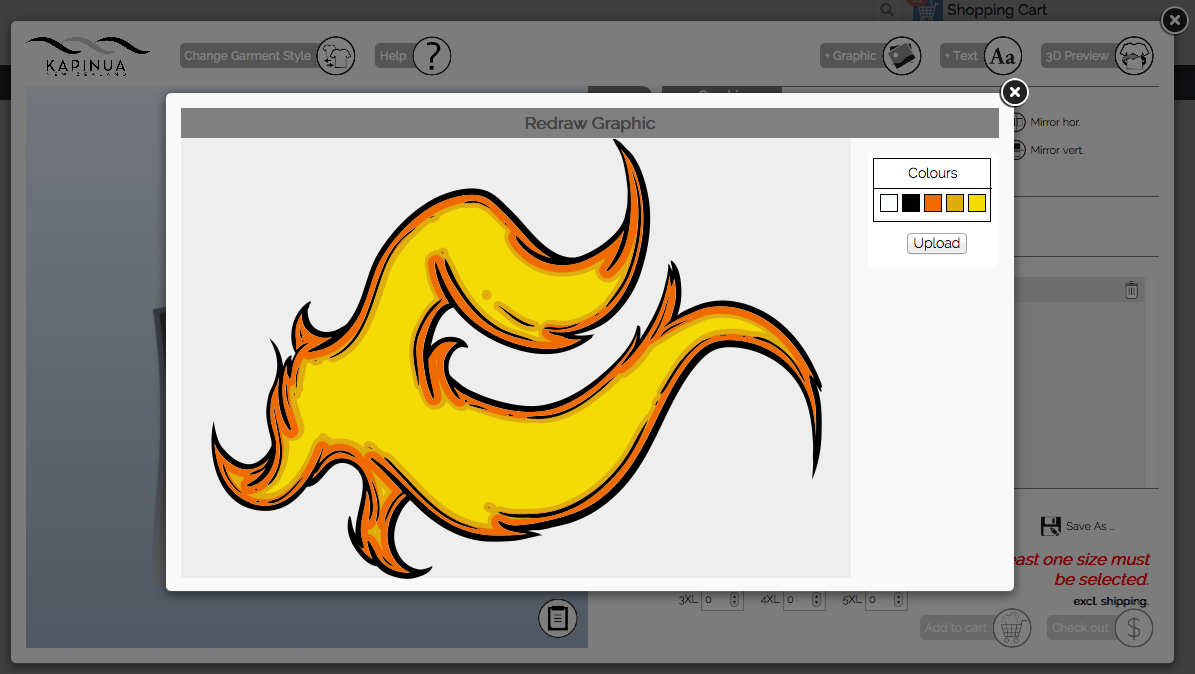
A click on "+ Graphic" will open a window from what you can select an image/graphic to place on the design. you can select out of a large variety of existing graphics and images. As our system can handle vector graphics as well as bitmap images most of them exist as vector graphics in the SVG file format. They can be scaled to any size without any quality loss.
A lot of images and graphics you can use for free, but some of them have a separate price that is added to your design. You pay once for the use of a graphic on one shirt, regardless how often it is used in your overall design. You can find more images and graphics amongst others on these pages. Please be aware of and consider always the copyrights and the license rights!
- http://www.vectoropenstock.com/
- http://www.vecteezy.com/
- http://www.vector4free.com/
- http://www.getty.edu/about/opencontent.html
- http://unsplash.com/
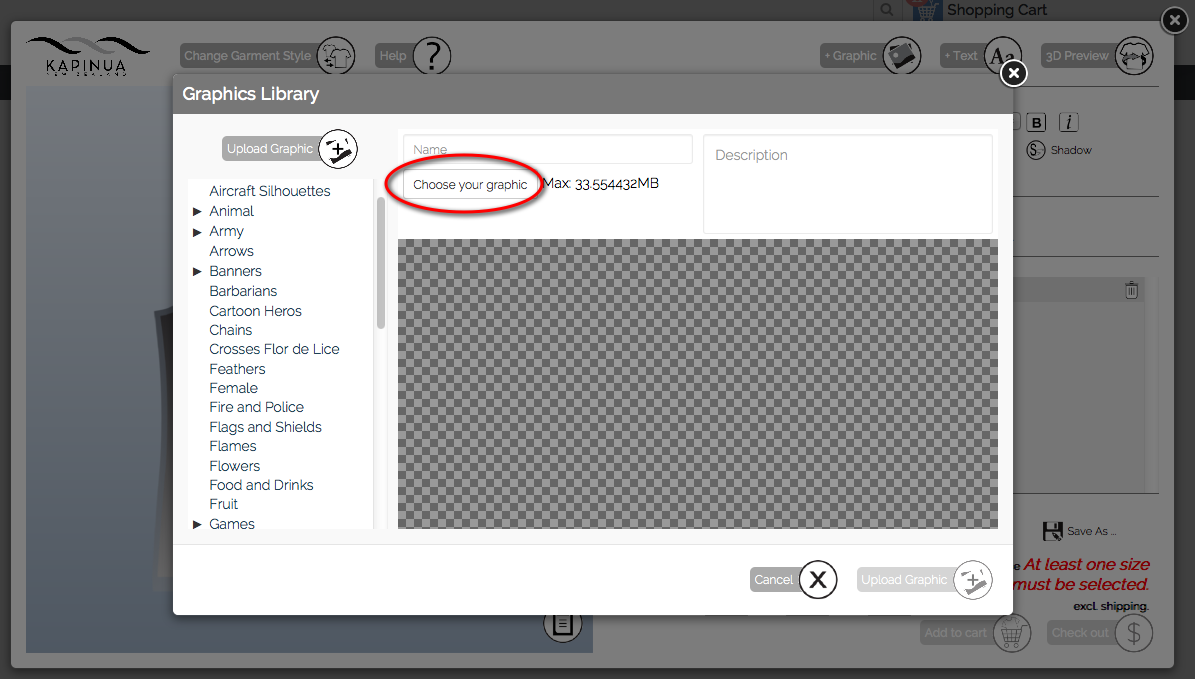
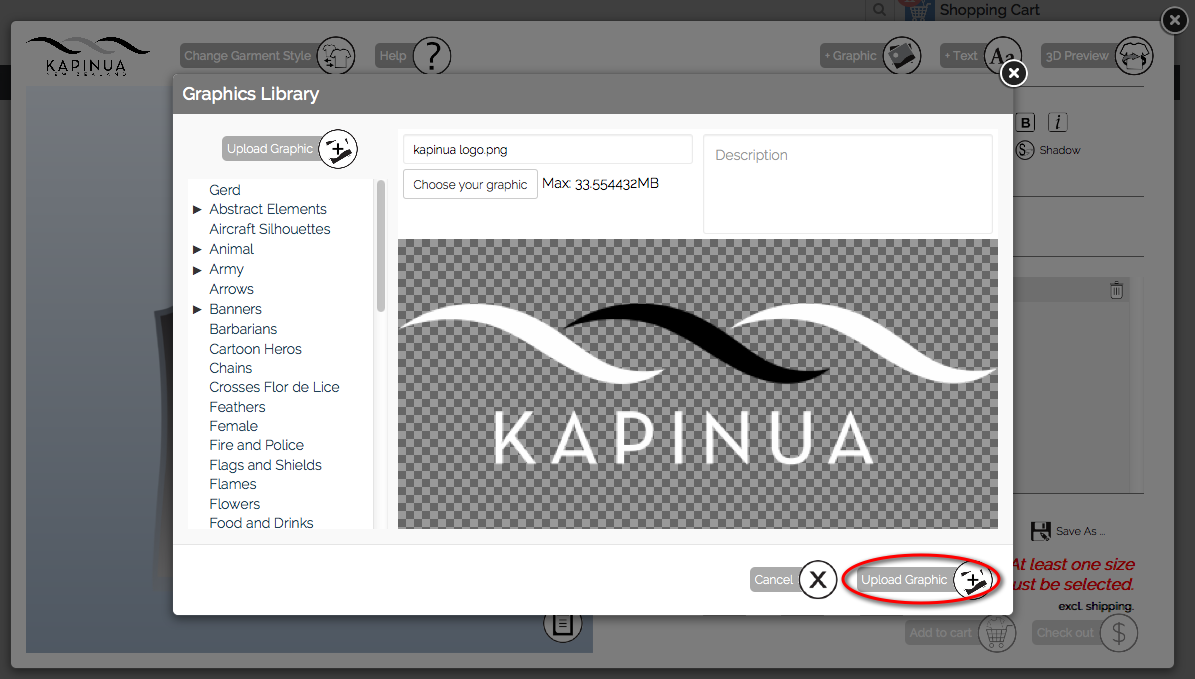
You can upload your own graphics as well. Our design system works best with SVG, PNG, JPG. But one page EPS files could also be uploaded. (If they are well formatted. Sometimes it could happen, that it is not possible to use a certain EPS file because of compatibility issues) Click on the Button "Upload" and you get a window, where you can select an image/graphic from your system and upload it to your account. After that you can use it in your design.
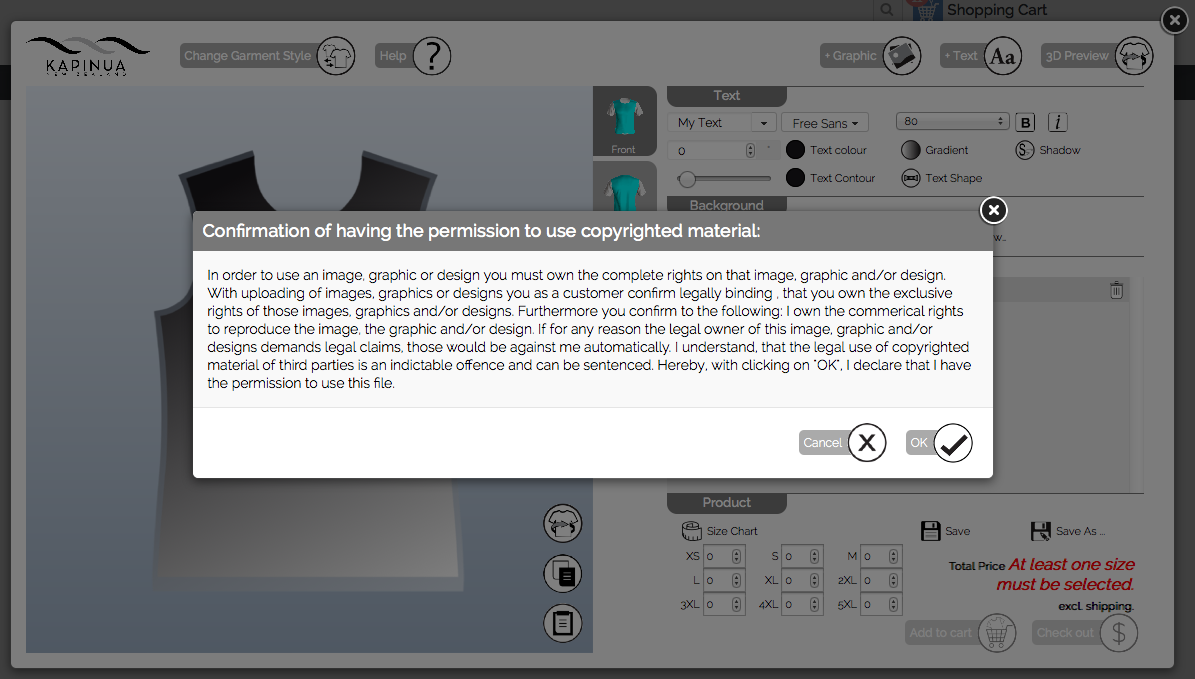
Inside the upload process you have to confirm, that you have the rights to use this image or graphic. Otherwise you can't upload this image or graphic.
After having put a graphic/image on your drawing area you can move it, scale it, rotate it, mirror it. If the graphic is stored on our server as an SVG-file you can even change the colours of the graphic.
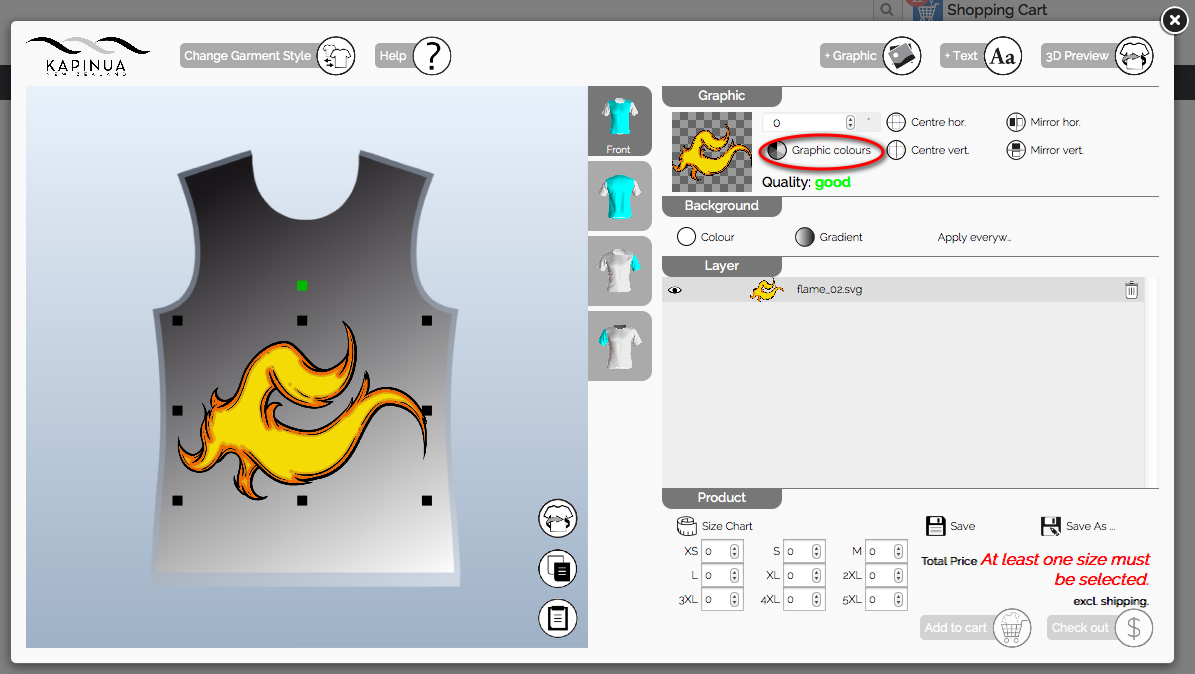
For bitmap images we offer a quality control. If the amount of pixels is too low we indicate that with "Quality: bad" in the "Settings" area". Is the quality acceptable, we show "Quality: acceptable", and if the quality is better than we show "Quality: good".

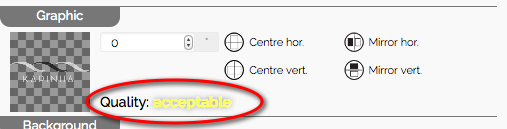
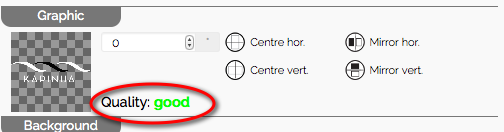
Often the quality is getting bad if you scale a bitmap image too large. Then the amount of pixels inside the image wouldn't be enough to create a clear image on the produced garment. You can get a better quality on the produced garment if you scale the image smaller until it is showing "acceptable" or "good" or you use an image having a higher resolution.
This indication sign is just show for bitmap images. If you use vector graphics you wouldn't see this indicator.
Adding team names and numbers
(coming soon)
3-Dimensional Preview
We created every garment as a 3d model. That gives you the opportunity though working and designing on a 2 dimensional sheet to see how your garment would look like. And that at every stage of the designing process.
A click on the button opens a window where you can see the 3d object. Depending on your internet connection it can take some time to load the 3d model for the first time.
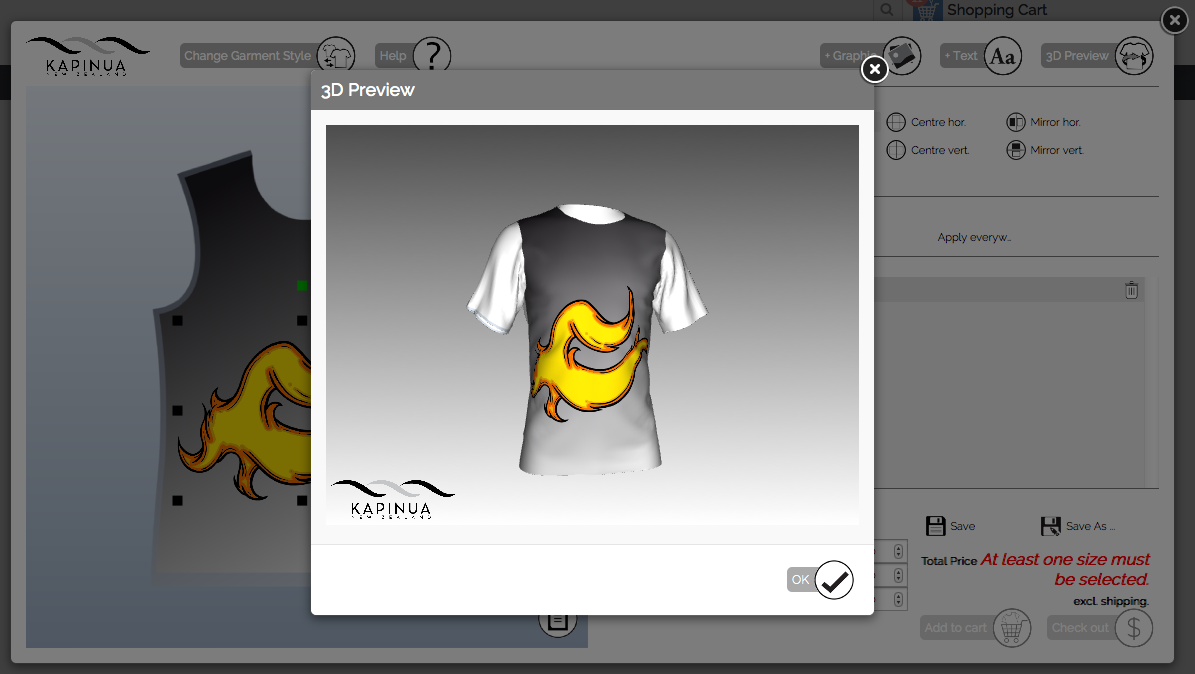
With having clicked the left mouse button on the 3d model you can rotate the object and see how it will look like from the side, front, back. You can even zoom in and out, with using the wheel on your mouse - like it is done in Google Maps.
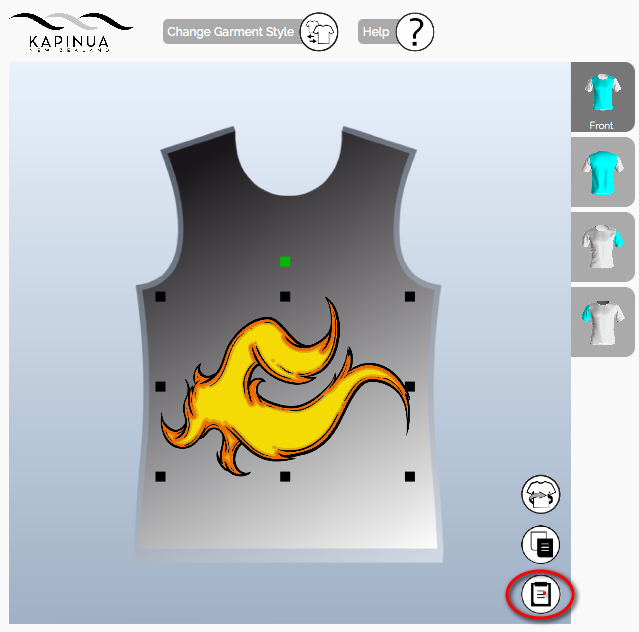
Copy and Paste
You can copy elements using CTRL-C or the button in the drawing area.

A copied element can be pasted using CTRL-V or the button in the drawing area. Pasting works on the same garment part but also on another garment part.
Save, Save as...
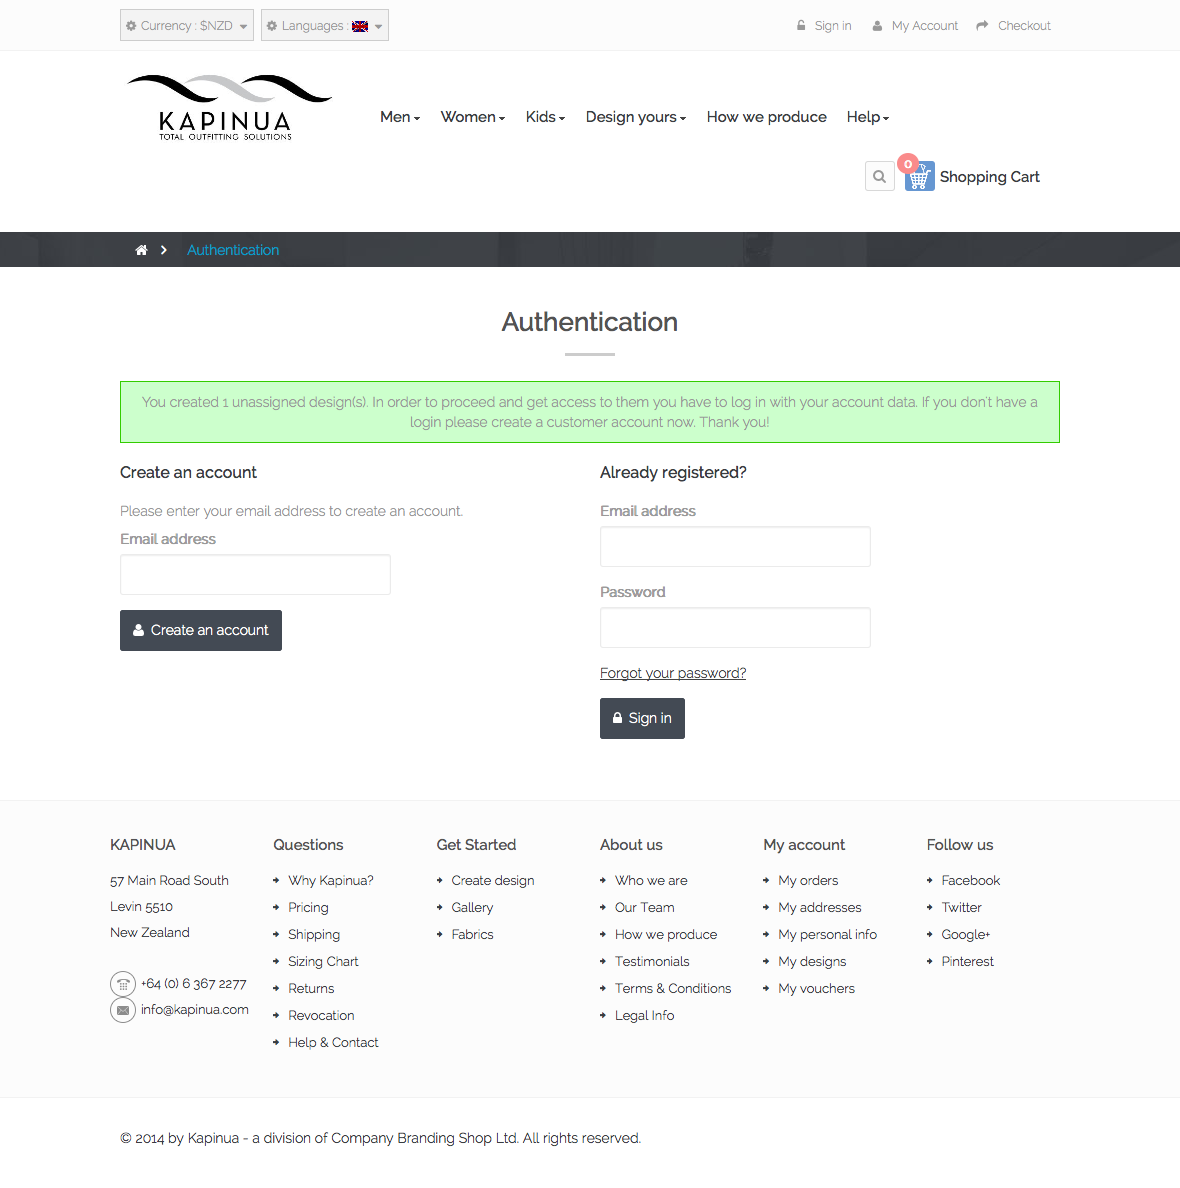
"Save" and "Save as ..." save your design to your account. If you don't have an account or you are not signed in you will be led to the page where you can create a new or can sign in.
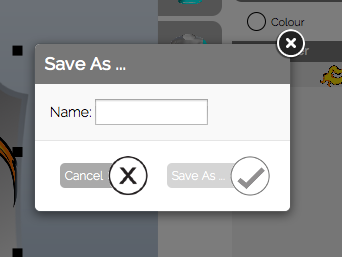
After signing in or setting up a new account (see how to do this in the section "Add-to-Cart") your design is saved and you will get back to the design, you were working on. "Save" will save the design in your account using the previous name. "Save as" offers you the opportunity to enter an own name for your design.
Add-to-Cart
"Add-to cart" saves your design to your account and creates an item inside you shopping cart. If you don't have an account or you are not signed in you will be led to the page where you can create a new or can sign in.
After signing in or setting up a new account your design is saved, added to your shopping cart and you will get back to the design, you were working on.
Check-Out
"Check-out" saves your design to your account, creates an item inside you shopping cart and will lead you to the check-out process. If you don't have an account or you are not signed in you won't see this button.
Change Garment Style
Sometimes you are working on a design for man t-shirt. But you also want to use this design for a woman t-shirt or kid t-shirt. Therefore we implemented the function "Change Garment Style". You can find the button for it in the top left of the online designer.
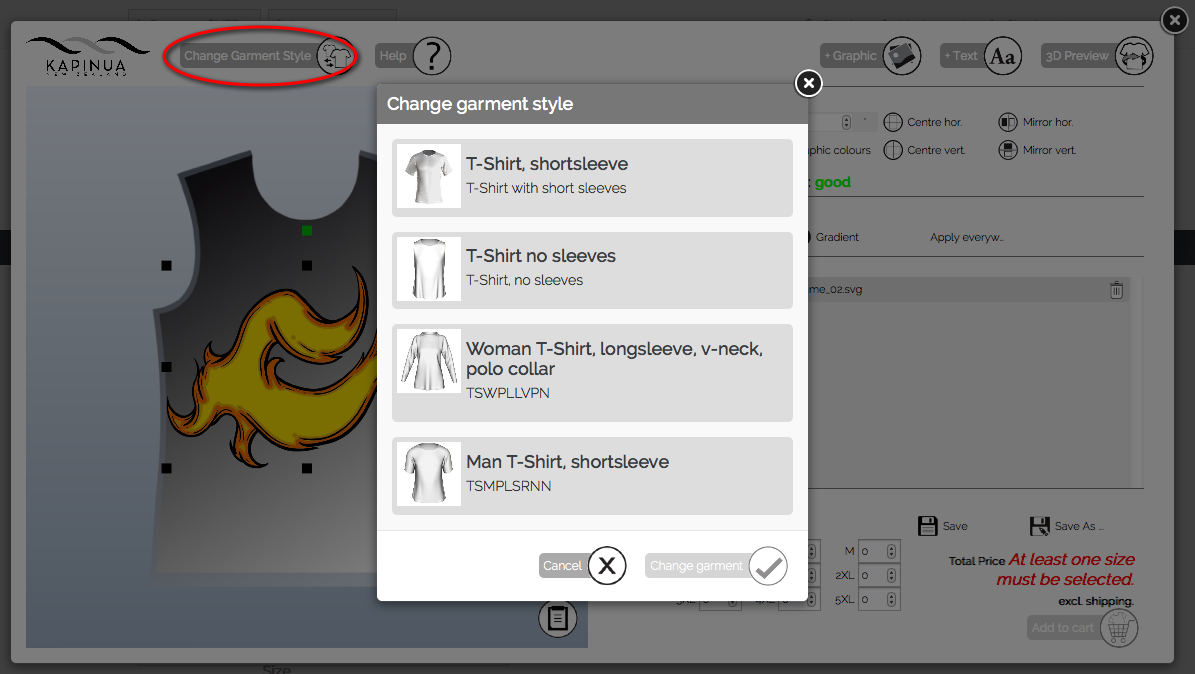
"Change Garment Styles" saves your design to your account and creates a new one using the new selected garment style with all the elements you used before. If you don't have an account or you are not signed in you will be led to the page where you can create a new or can sign in (see how to do this in the section "Add-to-Cart")
After signing in or setting up a new account your design is saved, a new one is created with using the new garment style having all the elements on it you used before. Probably you have to adjust some elements regarding position and scaling.
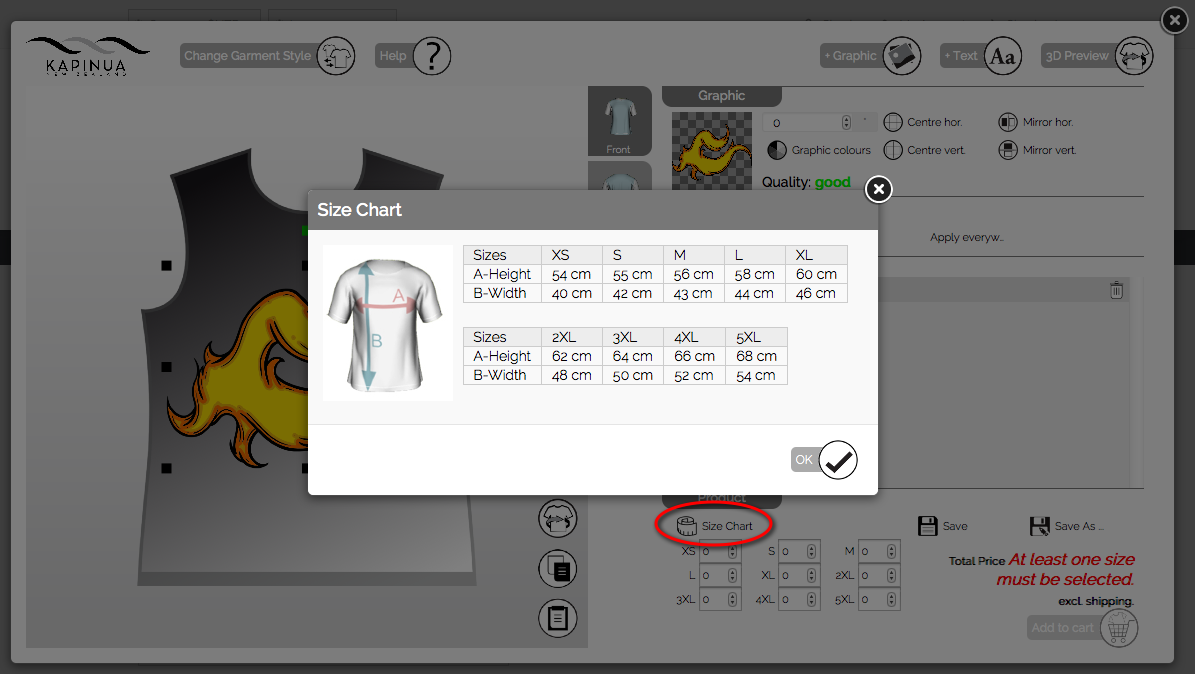
Size chart
The size chart should give you a help to decide what size you will need. Take a garment that fits you best and measure the values for A and B, have a look at the size table and select the size that suits best to your measurements.
Contact
Kapinua - a division of Company Branding Shop Ltd.
57 Main Road South
Levin 5510
New Zealand
Tel.: +64 (0) 6 367 2277
email: [email protected]
Design and order your own T shirt online today!
Use our designer tool to not only create your custom t shirts online but to also preview your design work in 3D! Produce your own custom printed t shirts with Kapinua. Your creativity has no limits! We can print all colours and colour gradients using high resolution all over quality sublimation. Find out more about our modern sublimation printing process.
Looking for customised team wear for you and your team? Click here to see our range of sports wear we offer! It's so easy - in a few short steps you can select your sports type, the preferred pattern and your preferred fabric.
Contact us today!